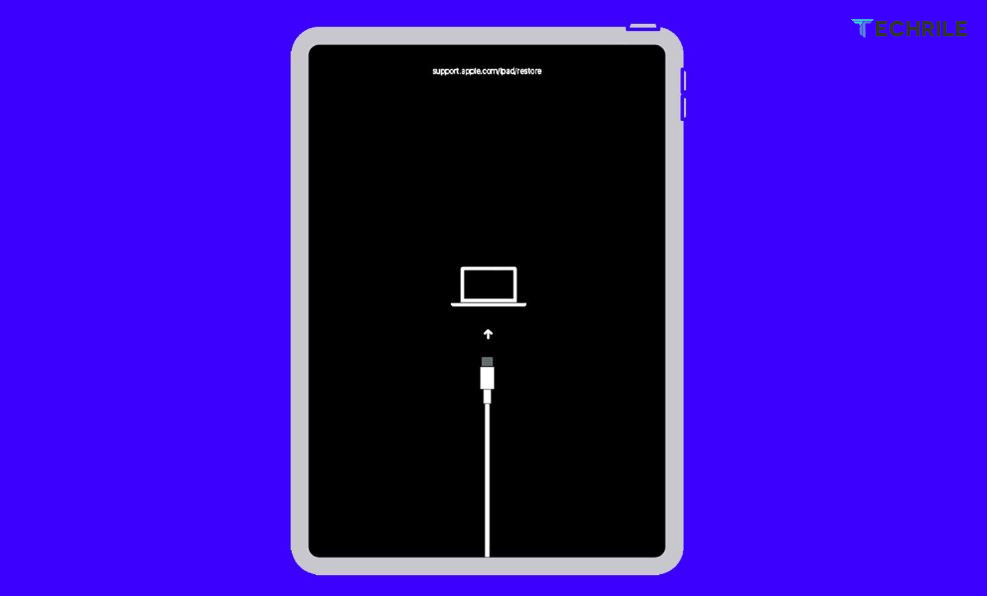
If your iPad shows the message “iPad is disabled, connect to iTunes”, it usually means you’ve entered the wrong passcode too many times. In this article, we will explain three simple methods to fix this issue and get your iPad working again.
Method 1: Restore iPad via iTunes
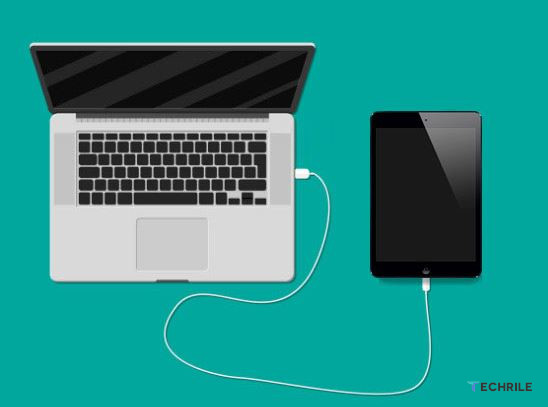
Step 1: Connect iPad to Your Computer
Start by connecting your iPad to your computer using a USB cable. Once it’s connected, iTunes will open automatically, but you won’t see an option to reset your iPad just yet.
Step 2: Enter Recovery Mode
To proceed, you need to put your iPad into recovery mode:
- Turn off your iPad.
- Press and hold the power button and the volume down button at the same time until you see the recovery mode screen.
Step 3: Restore iPad
Once your iPad is in recovery mode, iTunes will show a pop-up window with options to Update or Restore your iPad. Click on Restore iPad and confirm the action. iTunes will begin downloading the necessary software.
Step 4: Wait for the Process to Finish
Be patient while iTunes restores your iPad. Don’t disconnect your device during this process. Once the software is downloaded and installed, your iPad will be restored, and the “iPad disabled connect to iTunes” issue will be fixed.
Method 2: Unlock iPad Using AnyUnlock

If you prefer a different method, you can use a tool called AnyUnlock to fix your disabled iPad.
Step 1: Download and Install AnyUnlock
Download AnyUnlock on your computer. After installation, connect your iPad to the computer with a USB cable.
Step 2: Unlock the Screen Passcode
Launch AnyUnlock and select the Unlock Screen Passcode mode. The software will automatically detect your iPad. Choose the appropriate firmware version and click Download to begin the process.
Step 3: Unlock the iPad
After the download is complete, click on Unlock Now. AnyUnlock will start removing the screen passcode. Make sure your iPad stays connected throughout this process. Within a few minutes, your iPad will be unlocked, and you’ll be able to set it up again.
Method 3: Erase iPad via Find My
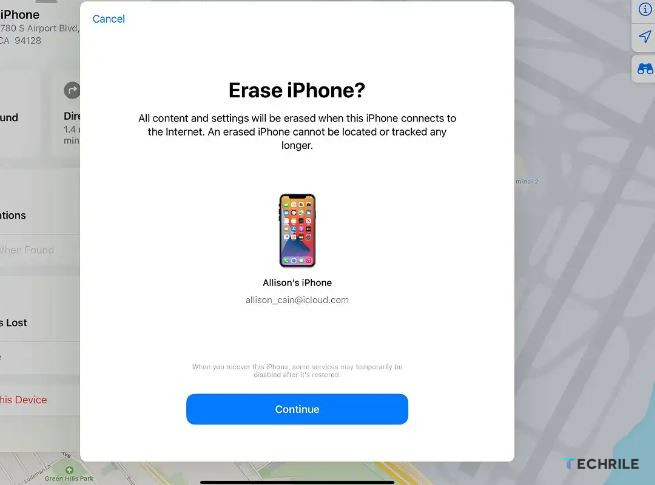
If you remember your Apple ID and iCloud password, you can use the Find My app to erase your iPad remotely.
Step 1: Open Find My on iPhone
Open the Find My app on your iPhone and select your disabled iPad from the list of devices.
Step 2: Erase iPad
Scroll down and tap Erase This Device. Follow the prompts by tapping Continue and then Erase. You’ll need to enter your Apple ID password to confirm. After a minute or two, your iPad will be erased, and you can set it up as new.
By following any of these methods, you can easily fix the iPad disabled connect to iTunes issue and restore access to your iPad in 2024.

